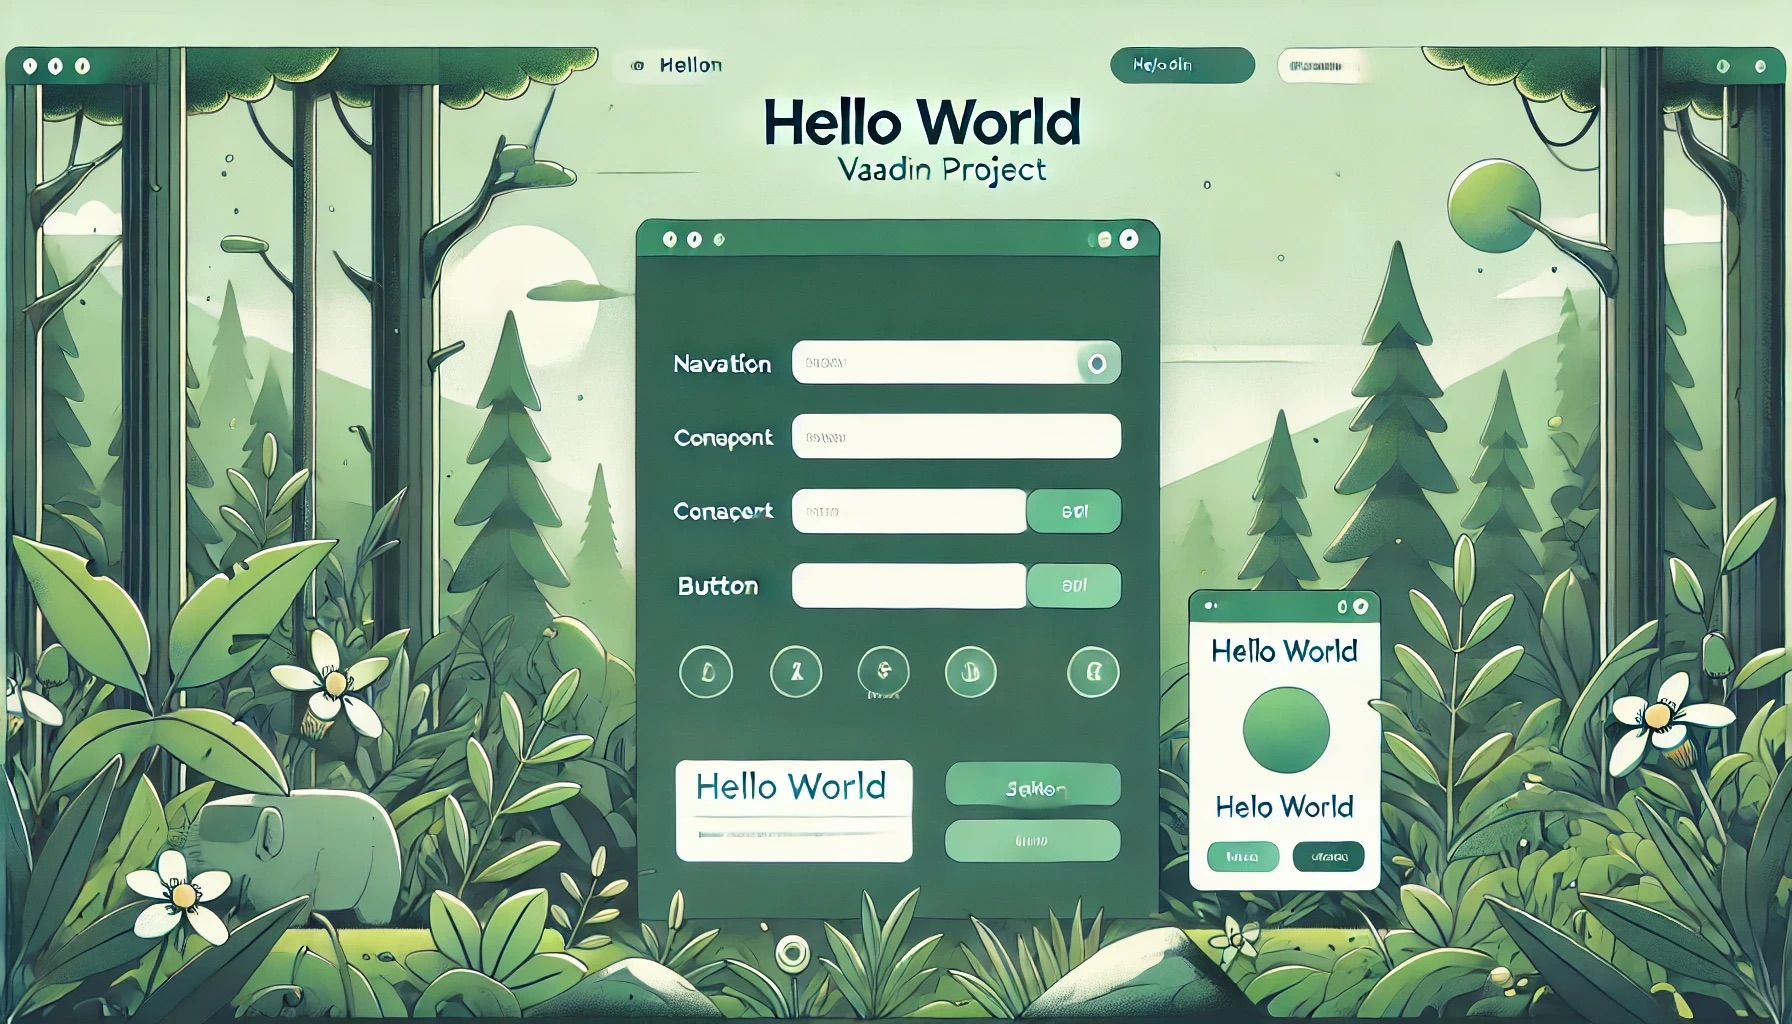

In this part of the series about Vaadin Flow, I will show how I can create the basic framework for the graphic design of a work application. The focus here is on the design of the work area and the organisation of the individual logical application groups. In other words, we create the application layout that can be used for an industrial project.
Of course, this also includes dealing with different languages based on i18N.
One of the first steps in an application is often to think about how everything should be presented on the screen. If menus are used, headers and footers should be used for elements, and what about the basic design of the workspace? The questions here are to be understood as examples, as they will, of course, always depend on the context and the target group.
AppLayout#
AppLayout is a reasonably robust and easy-to-use solution that comes with the Vaadin Flow framework. This class provides the entry point for quickly building an application’s framework. We looked at this class briefly in the first part and will now go into more detail here.
A classic Applayout consists of a header, where part of the navigation is usually housed. There is also a corresponding footer, which is usually used for lower-priority status messages. The middle is then divided into one to three parts. We will choose a classic two-column design here. The left side is the main navigation, the detailed navigation of which will then be visible in the header like a menu bar.
The layout consists of three sections: a horizontal navigation bar (called Navbar), a fold-out navigation bar (drawer), and a content area. An application’s main navigation blocks should be positioned in the navigation bar and/or drawer while rendering views in the content area.
The app layout is responsive and automatically adapts to the screen size of desktops, tablets, and mobile devices. This behaviour saves us a lot of customisation work that we would otherwise have to implement ourselves.
The navigation structure depends mainly on the number of elements to be shown and whether a sub-navigation is required.
The navigation bar is a good choice for multiple items (3-5) as they fit in the viewport without scrolling. If you need to display more items or small screen support is a priority, the Drawer is a better choice. It can accommodate a longer list of links without scrolling and collapses into a hamburger menu on small screens. Additionally, a vertical list of items is easier for the user to scan. If multi-level or hierarchical navigation is required, Draver is the first level. The secondary (and tertiary) navigation elements can be placed using the drawer or in the navigation bar (Navbar).
The implementation can then look like this.
We create the basic framework in MainLayout from the class AppLayout is derived. Here, we have to use the methods for setting the individual navigation areas. Let’s start by building the main navigation, which is on the left side in this example. Here you will see a combination of icon and descriptions for the main areas of the application. The necessary graphical elements are displayed along with the application title via the method addToDrawer(…) set.
The application title is an instance of the class H1. Here the text to be displayed is simply selected using the method setText() handover.
The navigation elements are created using the class SideNavItem realised. The transfer parameters are a label. a target view and an icon. All SideNavItem - Instances are in the instance of the class SideNav summarised and transferred to the layout. In case the number of entries is larger and you want the user to be able to scroll through this list, the instance of the class SideNav is embedded into an instance of the class Scroller.
In the source code, it looks like this:
private Scroller primaryNavigation() {
    SideNav sideNav = new SideNav();
    sideNav.addItem(
        new SideNavItem("Dashboard", DashboardView.class,
            VaadinIcon.DASHBOARD.create()),
        new SideNavItem("Orders", AllOrdersView.class,
            VaadinIcon.CART.create()),
        new SideNavItem("Customers", CustomersView.class,
            VaadinIcon.USER_HEART.create()),
        new SideNavItem("Products", ProductsView.class,
            VaadinIcon.PACKAGE.create()),
        new SideNavItem("Documents", DocumentsView.class,
            VaadinIcon.RECORDS.create()),
        new SideNavItem("Tasks", TasksView.class,
            VaadinIcon.LIST.create()),
        new SideNavItem("Analytics", AnalyticsView.class,
            VaadinIcon.CHART.create()));
    Scroller scroller = new Scroller(pageNav);
    scroller.setClassName(LumoUtility.Padding.SMALL);
    return scroller;
  }
To complete the layout, we will put all the elements together.
This is implemented in the constructor.
private H1 appTitle = new H1();
  public MainLayout() {
    addToDrawer(appTitle, primaryNavigation());
    setPrimarySection(Section.DRAWER);
  }
In this example, you can see that the labels are all stored directly in the source code. We will change this later so that we can make the application multilingual. I ask for a bit of patience here. We also see the specification of the targets using the class name. We’ll look at that a little later, too.
In the previous post, I showed how the MainLayout class is used.

Screen with the created menu items
If you want to create a sub-navigation, you can make additional menu entries in the header on the right. This is often used when you want to divide a somewhat more complex process into different views. For example, let’s take the illustration for dealing with orders. Let’s just assume that there are the sub-areas “All orders ”, “Open orders ”, “Completed orders " and “Abandoned orders ” must give. This results in another four navigation destinations, which are, however, summarised under the item Orders.

Screenshot after navigating to the Orders menu item
These submenu items are the same for all views that deal with orders. This immediately raises the question of how to extract this menu. Great mechanisms from inheritance come into play here. We create a class AbstractHeaderView and AbstractOrdersView. All constructs required for a generic implementation of secondary navigation are stored in the first class mentioned. This includes, for example, how the second navigation bar should be positioned, what graphic properties it has and whether there is a hamburger symbol that can be used to show or hide the main navigation.
Ultimately, all that needs to be added is which navigation points must be created for each implementation. The respective implementation of the method secondaryNavigationsLinks() defines these menu items.
The following listing shows the implementation for the screenshot shown, divided into the generic part AbstractHeaderView and the specific one for the orders AbstractOrdersView.
public abstract class AbstractViewHeader
    extends Composite<VerticalLayout> {
  public AbstractViewHeader(String subTitle) {
    initView(subTitle);
  }
  protected RouterLink createLink(String viewName,
                                  Class<? extends Composite> viewClass) {
    RouterLink link = new RouterLink();
    link.add(viewName);
    link.setRoute(viewClass);
    link.addClassNames(LumoUtility.Display.FLEX,
        LumoUtility.AlignItems.CENTER,
        LumoUtility.Padding.Horizontal.MEDIUM,
        LumoUtility.TextColor.SECONDARY,
        LumoUtility.FontWeight.MEDIUM);
    link.getStyle().set("text-decoration", "none");
    return link;
  }
  public void initView(String subTitle) {
    DrawerToggle toggle = new DrawerToggle();
    H2 viewTitle = new H2(getTranslation(subTitle));
    HorizontalLayout titleBar = new HorizontalLayout(toggle, viewTitle);
    titleBar.setAlignItems(FlexComponent.Alignment.CENTER);
    titleBar.setSpacing(false);
    VerticalLayout viewHeader = getContent();
    viewHeader.add(titleBar, secondaryNavigation());
    viewHeader.setPadding(false);
    viewHeader.setSpacing(false);
  }
  private HorizontalLayout secondaryNavigation() {
    HorizontalLayout navigation = new HorizontalLayout();
    navigation.addClassNames(
        LumoUtility.JustifyContent.CENTER,
        LumoUtility.Gap.SMALL,
        LumoUtility.Height.MEDIUM);
    secondaryNavigationLinks().forEach(navigation::add);
    return navigation;
  }
  public abstract List<RouterLink> secondaryNavigationLinks();

public abstract class AbstractOrdersView
    extends AbstractView<HorizontalLayout>
    implements LocaleChangeObserver {
  public static final String CANCELLED = "orders.subnavigation.cancelled";
  public static final String COMPLETED = "orders.subnavigation.completed";
  public static final String OPEN = "orders.subnavigation.open";
  public static final String ALL = "orders.subnavigation.all";
  private final String subTitle;
  public AbstractOrdersView(String subTitle) {
    this.subTitle = subTitle;
  }
  @Override
  protected AbstractViewHeader createViewHeader() {
    return new AbstractViewHeader(subTitle) {
      @Override
      public List<RouterLink> secondaryNavigationLinks() {
        return List.of(
            createLink(getTranslation(ALL), AllOrdersView.class),
            createLink(getTranslation(OPEN), OpenOrdersView.class),
            createLink(getTranslation(COMPLETED), CompletedOrdersView.class),
            createLink(getTranslation(CANCELLED), CancelledOrdersView.class));
      }
    };
  }
}
Here, you can clearly see that the source text is greatly reduced when there are a large number of navigation elements. A minimal basic framework is created to implement the variations for the individual views. I have intentionally refrained from including functions for processing orders in this example because I want to focus on the structure here.
@Route(value = "allOrders", layout = MainLayout.class)
@PreserveOnRefresh
public class AllOrdersView extends AbstractOrdersView {
  public static final String SUB_TITLE = "orders.all.subtitle";
  public AllOrdersView() {
    super(SUB_TITLE);
     //the necessary elements are placed here
    getContent().add(new TextField("TBD ALL Orders"));
  }
  @Override
  public void localeChange(LocaleChangeEvent event) {
    // fuer i18N
  }
}
With the basic framework shown here, you can build quite complex navigations. Now, let’s get to the topic of i18n. A web application usually needs to support multiple languages. I will not discuss languages here that require a change in reading direction. In this example, I’ll focus on supporting any number of languages with a left-to-right reading order. Examples of languages here will be German and English. The primary function here is quite simple
What is i18N - Internationalization in Java#
The basic concept of i18n (internationalisation) in Java is to design and develop an application that can be easily adapted to different languages and regions without requiring significant changes to the code.
Resource bundle
A resource bundle is a set of key-value pairs that store country-specific data, such as B. Strings for messages, labels and other UI components. In Java, resource bundles are usually property files named after the locale they represent (e.g. “messages_en_US.properties " for US English, “messages_de.properties “ for general German).
When the application runs, it dynamically loads the appropriate resource bundle based on the user’s locale. This allows the application to display content in the user’s preferred language without hard-coding the text in the source code.
Locale
A locale in Java is an object that represents a specific geographical, political or cultural region. It includes language, country and sometimes variant codes. For example, Locale.ENGLISH represents the English language and Locale.US represents the United States.
The class **Local** customises information for the user, such as B. Text, dates, numbers and currencies, according to its region.
Message Formatting
Java provides classes like **MessageFormat** to handle complex message formatting that allows dynamic insertion of values into localised messages (e.g. “Welcome, {0}!”, where {0} can be replaced with the user’s name).
You define message templates in your resource bundles, and at runtime, the class replaces **MessageFormat** Placeholders with actual values to ensure messages are appropriately localised and formatted.
Date, number and currency formatting
Dates, numbers, and currencies are often represented differently in different locales (e.g. MM/DD/YYYY vs. DD/MM/YYYY for dates). Java provides classes like **DateFormat** , **NumberFormat** and **Currency** to process these deviations.
These classes format data according to locale settings and ensure users see information in the expected format.
Fallback mechanism
If a specific locale’s resource package is unavailable, Java uses a fallback mechanism to select a more general package (e.g., falling back from messages_fr_CA.properties to messages_fr.properties).
This ensures that the application remains functional even if a full set of localised resources is unavailable for each locale.
The basic concept of i18n in Java is to create applications that can support multiple languages and regional settings with minimal changes to the code base. This includes using resource bundles, locale-dependent classes for formatting, and a fallback mechanism to ensure a seamless user experience across different locales.
i18N in Vaadin Flow#
To use i18N, the application only needs to have the corresponding text files with the keys and contents available in the classpath under the vaadin-i18n directory with the filename prefix translations (e.g. src/main/resources/vaadin-i18n/translations.properties).
When a translation is requested or when the I18NProvider is used for the first time, the vaadin-i18n directory is checked to see if it contains any translations.properties or translations_[langcode].properties files. All language codes are collected from the available files and added as provided locales in the DefaultI18NProvider.
The translations.properties file is a standard translation file used for any locale that does not have a specific translation file. For example, locale translation files are called translations_de.properties or translations_en.properties. Automatic locale creation supports one to three parts (e.g. translations_language_country_variant.properties).
The locale to use is determined by matching the locales provided by the I18NProvider with the Accept-Language header in the client’s initial response. It will be used if an exact match (i.e., language and country) is found. Otherwise, it will just try to find a match by language. If neither is found, the locale defaults to the first “supported” locale from I18NProvider.getProvidedLocales() set. If this is empty, will Locale.getDefault() used.
Implementing internationalisation in an application is a combination of using I18NProvider and updating translations when locale changes. This can be done, for example, by the user if he wants to change the language. To simplify this, the application classes that control the localised captions and text can LocaleChangeObserver implement to receive events related to locale changes. During navigation, this observer will also be notified when the component is attached, but before onAttach() is called. All URL parameters from navigation are set so that they can be used to determine status.
public class LocaleObserver extends Div implements LocaleChangeObserver {
    @Override
    public void localeChange(LocaleChangeEvent event) {
        setText(getTranslation("my.translation", getUserId()));
    }
}
If you want to set the texts explicitly, you can use this method: getTranslation(..).
public class MyLocale extends Div {
    public MyLocale() {
        setText(getTranslation("my.translation", getUserId()));
    }
}
In this example project, the listing for creating the main menu entries is rewritten. For clarity, here are both versions for a menu entry.
High Version :
new SideNavItem("Orders", AllOrdersView.class,
            VaadinIcon.CART.create())
New version :
public static final String MENU_ITEM_ORDERS = "mainlayout.menuitem.orders";
new SideNavItem(
            getTranslation(MENU_ITEM_ORDERS),
            AllOrdersView.class,
            CART.create())
translation.properties :
mainlayout.menuitem.orders=Orders
Conclusion#
With these two elements, the ApplLayout and the realisation or implementation of i18N, two fundamental building blocks for developing a web application have been laid. From here, the application can now be built step by step. We will deal with the individual topics in the next parts, so it remains exciting.
Happy Coding
Sven